Showing posts with label tutorial. Show all posts

Wednesday, December 28, 2016

Beat Winter Blues ~ Candy Cane Bath Salt Soak


Winter is upon us...It's dreary, cold and dark here. The days are short and the nights are long. I am one of those gals who don't do very well in the Winter. I get the Winter Blues. It's real folks! I was trying to find some ways to help with the blues this Winter since we are now living in the Mid West where the Winter will be long!!!!! I will share what I have come up with as I go, in hopes you too will find some inspiration yourself  and join me this Winter. We can beat this!!! I made some lovely bath salts for a few friends this Christmas, and after making them...It hit me...How wonderful this would be to soak in during these long Wintry cold days. I love me a good ole hot soak. Why not add a bit of Winter goodness to it... I gathered up a bunch of jars which I have been collecting over time. You see, my dear Mr. Darling has this thing about salsa....I buy him salsa...So why not keep those lovely jars and reuse them for something else?  Being the frugal gal I am...These will come in handy for gift giving and so much more. Simply paint the lids with your favorite color of spray paint, take off the sticky labels and voila...Your'e in business!


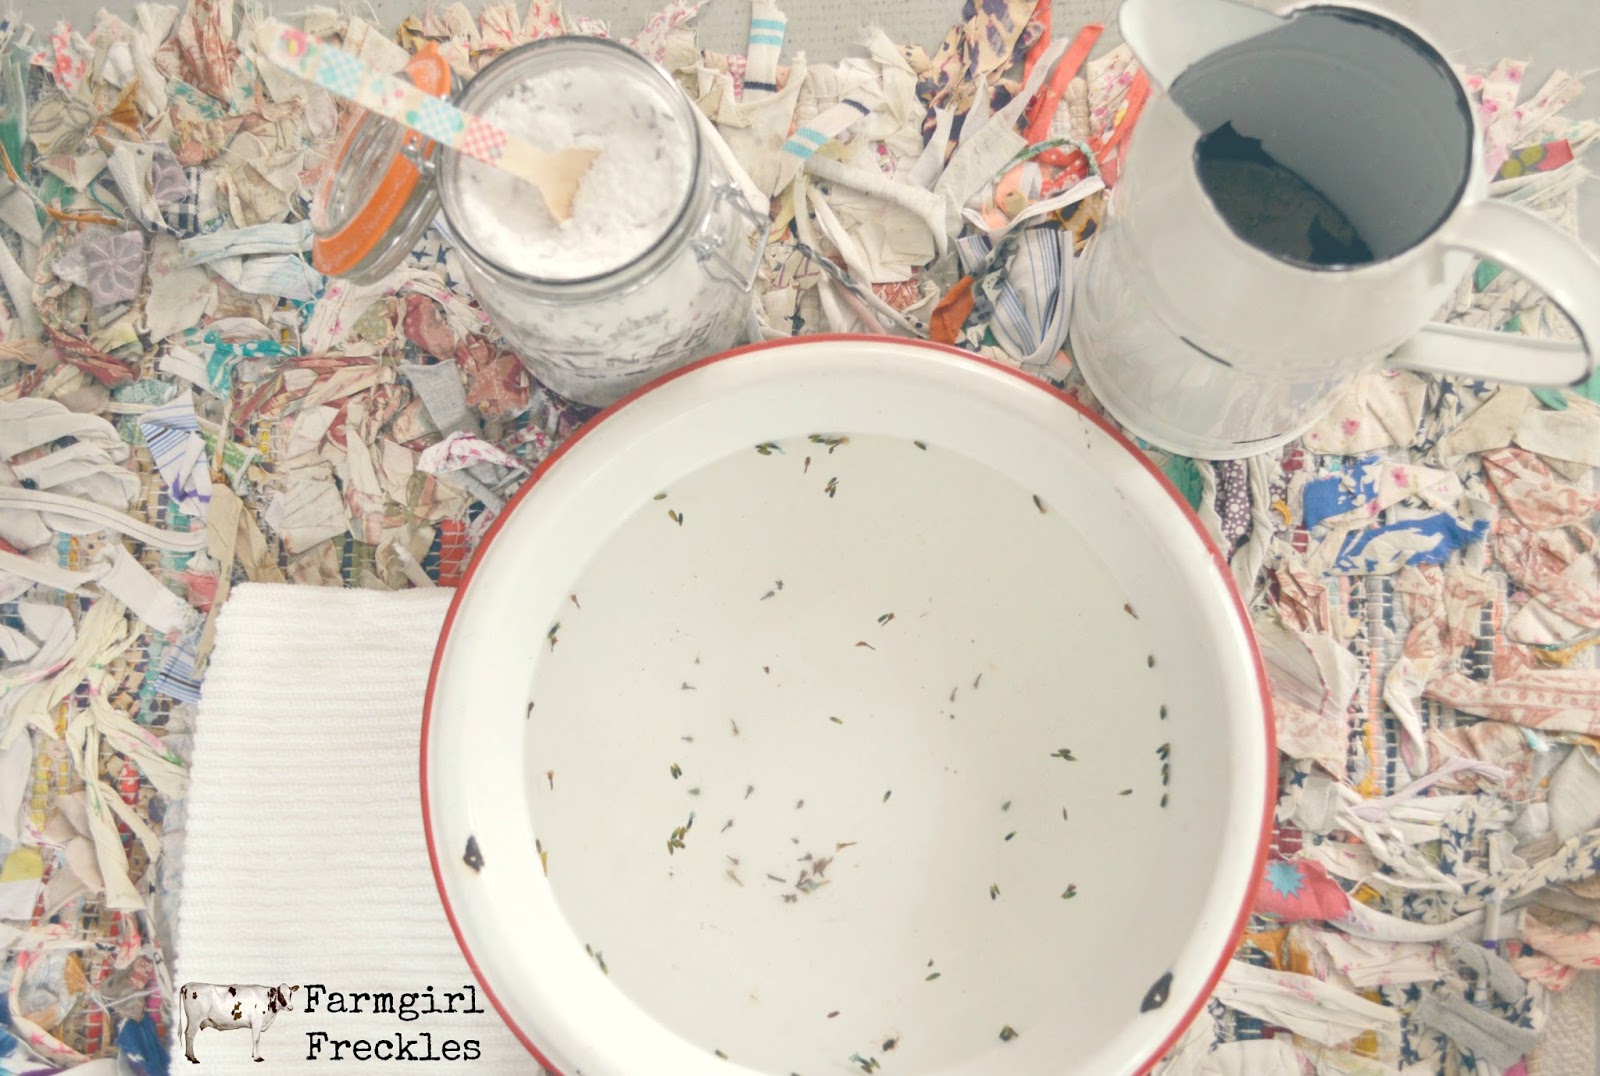
To make this wonderful Wintry Blend  I used 3 bags of Epson Salt, 1 box of baking soda, 1/2 bottle of red sugar sprinkles (for added color) (optional) and about 30 drops of Peppermint Essential Oil. Mix all these ingredients in a large bowl....Give it a nice sniff....This is a dreamy smell!!!


I poured them into the jars, made some labels and called it good!
 Are you ready to give it a soak? Add 1/4 cup into a nice hot bath
 and soak yourself for at least 10-20 minutes.. 

The delightful scent of peppermint with tantalize your senses. Peppermint essential oil is wonderful for sore muscles as it is a natural pain killer and anti inflammatory. It will even relieve muscle pain caused by the flu. It also improves circulation, relaxing tense muscles and has been recognized to soothe headaches. Peppermint essential oil is also known to raise energy levels, improving focus and mental clarity, relieves stress, and calms skin inflammation. 
The menthol in peppermint provides relief to respiratory problems as well as congestion. I think your'e going to love using this soak this Winter. If you don't want to use it in the bath...You can also just soak your feet in it. There are so many wonderful benefits...


Come on back ya hear? I will share more ideas for beating Winter Blues...
Coming soon!!!


Friday, April 22, 2016

Farmgirl Therapeutic Foot Soak


Happy Friday y'all!!!
It's Springtime...Surely many farmgirl's and farm Momma's are busy busy busy in their gardens, tending to their homestead and taking care of the little's. Every hardworking Momma deserves a moment of relaxation if they can find that time to carve out for themselves. Perhaps at the end of a long hard day after putting the babes to bed, you can heat up the kettle with some warm water and fill a basin with a lovely foot soak....Pamper yourself for 10-20 minutes and breathe in the essential oils.


There is the perfect therapeutic foot soak that you can make at home and keep on hand for those quiet moments when you can just soak your weary feet without care. It's not only natural it is beneficial for your body and mind and it's easy to make....

~Therapeutic Foot Soak~

In a large mixing bowl put together
1 Cup Epson Salt
1 1/2 Cups Sea Salt
1 1/2 Cups Baking Soda
15 drops pure therapeutic grade Lavender Oil
15 drops pure therapeutic grade lemon or lemongrass essential oil
1/2 Cup Lavender buds ( optional)
Double or triple recipe....Give as gifts too!

Mix well and store in airtight container.
Add 1/4 Cup- 1/3 Cup salt mixture to soaking basin with warm water
Soak for 10-20 minutes Relax and Enjoy!!!


Hey there Farm Momma you deserve this! 
Please take time out for yourself...It is beneficial for your family and yourself to have a relaxed Momma and be a relaxed Momma. I know us Momma's tend to do a lot for the family yet forgetting about our well being....Trust me!!! Your life can be less stressful if you can just carve out a few minutes of quiet relaxing, reflecting moments to yourself. A homestead, household relies a lot on us Momma's....We can't function well or give our all to anyone if we don't get some sort of time to ourselves. It's good health for you and the family...When Momma is good...Everyone is good!!! And when Momma is happy everybody is happy!
Take care!

Linking up with Farmgirl Friday Blog Hop
Go check out more posts from fellow farmgirl's!

Tuesday, April 12, 2016

Maw's Homestead Coffee & Cacao Brown Sugar Face Scrub


Coffee is a staple on a farmgirl's homestead! Have you ever thought to use it on your face though? It's true...You can and it has some nice benefits too! The caffeine in coffee improves circulation in the skin, it stimulates and exfoliates as well as tighten the skin. 
And who doesn't love the smell of coffee grounds? 


This is a pretty simple recipe you can throw together and give to your Maw this Mother's Day. All you need is ground coffee, brown sugar, ground cacao, jojoba oil,
 Peppermint Essential Oil.


Put 1/2 cup brown sugar in a small bowl then slowly add 1/2 cup Jojoba oil. Measure out and stir in 1/4 cup coffee grounds and 2 Tablespoons ground cacao. Lastly add 10 drops peppermint essential oil, mix well. Store in air tight glass containers. Give as gifts! This will be perfect to use on your face in the morning to stimulate your skin and maybe even wake you up!


Linking to Farmgirl Unleashed Friday Blog Hop.
 Click picture to visit other farmgirls!


Also linking up to Our Simple Homestead Blog Hop.
 Click picture above to check out more blogs!


Monday, March 14, 2016

How I Edit Pictures~Picmonkey Tutorial

I received a comment the other day asking if I would do a post on how I edit my pictures. I am happily obliged to share how I edit, enhance or give my photos a vintage feel. First of all you need to make yourself an account through www.picmonkey.com. Most of the tools are free to use. However anything with a crown next to it is not free. I pay to use the extras since I am always messing around editing my pictures. There are tons of fun tools to use on this site. From cropping pictures to adding more color, taking out blemishes, enhancing eyes, teeth or skin. There are also many applications to make your pictures vibrant, vintage, black & White, sepia etc... You can spend a lot of time fiddling with everything. There is so much to do. I will share a few photos and keep it pretty basic as to what I usually use in my photos. After you make an account. Upload a picture.


I always start in basic edits. First I tweak the exposure. Here I usually eyeball how I want the brightness or highlights. Sometimes highlights will drown out the picture. So I use it very little, depending on the picture and how it might look. I also add a bit of shadow and contrast...
Which gives it sort of a glow.


Then I usually go to sharpen my picture..also giving it a bit of clarity. You may not need to sharpen your pictures if you feel it is a good photo. I like the picture to be a bit crisper if possible.


Sometimes if I want a burst of color I click the magic wand and go to burst or boost. You can adjust the bold color from there. Notice the flowers in the magazine are brighter and bolder in color?


Next I choose which filter I want my picture in. There are many to choose from. Here I went to Daguerreotype and clicked Shiro. This gives it an antiqued look. You can adjust the fade at how antiqued you want to the photo, even leaving some color to it. I am happy with this overall and felt I am done with the edit so I click save. That's it for this photo!


******
Upload another photo. Go to basic edits. Twerk your brightness,
 highlights, shadows and contrast to your liking. Sharpen and add a bit more clarity if you desire.


After I did my basic edits...I wanted to give this photo a bit of sunglow to her face. Click your magic wand and scroll down to sunglow. Click on the area you want the sunglow. You can adjust the size of the glow as well as fade it if it's too much glow.


After I found the right spot. I saved and scrolled up to Time Machine then clicked Flo. 
I use this filter a lot for a vintage look. You can then use the fade button to your liking. I am happy with this photo. So now I will save it to my files.


****
The next photo I am using is a scenery picture. Go to basic edits. Tweak your exposure to your liking. After that...I like to boost my scenery pictures with a bit more color. Click the magic wand and scroll down to boost or burst. This time I used Boost. Then tweaked the color to my liking. Just giving it a subtle bolder, brighter color boost.


After the boost I sharpened it a bit. I felt I wanted to enhance the brightness in the clouds. So I clicked the magic wand and scrolled down to Dodge then clicked mild.


A circle shows up over the photo. There I use my mouse and drag the circle over the cloud area just giving it a whiter look. I love this picture how it is. So I saved it to my files.


****
The last edit is another picture of my sweet daughter. 
As always I start in basic edits and tweak the brightness, etc....


This photo was taken outside as the sun was going down and left it looking a bit blueish. So in order for me to fix the blue a bit I click colors. There you will see saturation and temperature. I just gave it a tiny bit of saturation and clicked the temperature button more to the right which gives it proper color...I usually just eyeball my edits to what I like. There is no formula as each photo you edit will be different from others. Next I sharpened it a bit.


Here I added just a touch of boost. After giving it a boost I went to my favorite filter in Time Machine...Clicking Flo. Then adjusted it to my liking.


Here are some other examples. instead of time machine you can use tranquil...
That is another filter I use a lot.


Instead of those try out Urban....It gives it a nice bold filter with darkened edges.


Or Rapture gives it a rosy pink vintage look.


Here I used silverscreen...I left a tiny hint of color in it while fiddling with the fade....
Kinda looks like old black and white photos.


The last photo below is Yester-color. Reminds me of photos from my childhood in the 70's.


There are so many filters you have to play around with them all...From there you will know what you like. It's a very easy, self explanatory sight... It's all up to you and your creativity how you want your special photos to look like. I do hope this helped out a bit! I do recommend paying for the extras if you edit your photos often...You have more choices to play around with! Have fun!!!